
Add Now Column
The information on this page relates to the new upgraded interface of the IConduct platform. To view information about the Classic version of the user interface, follow this link.
The Add Now Column algorithm is used to specify the current date and time in the target column according your computer's system date and time.
For example, it is important to keep track of the date or the date and time when a new record is added to the schema.
| Target Column |
|---|
| 03/12/2019 02:25:30 PM |
To configure this manipulate step, follow the instructions below:
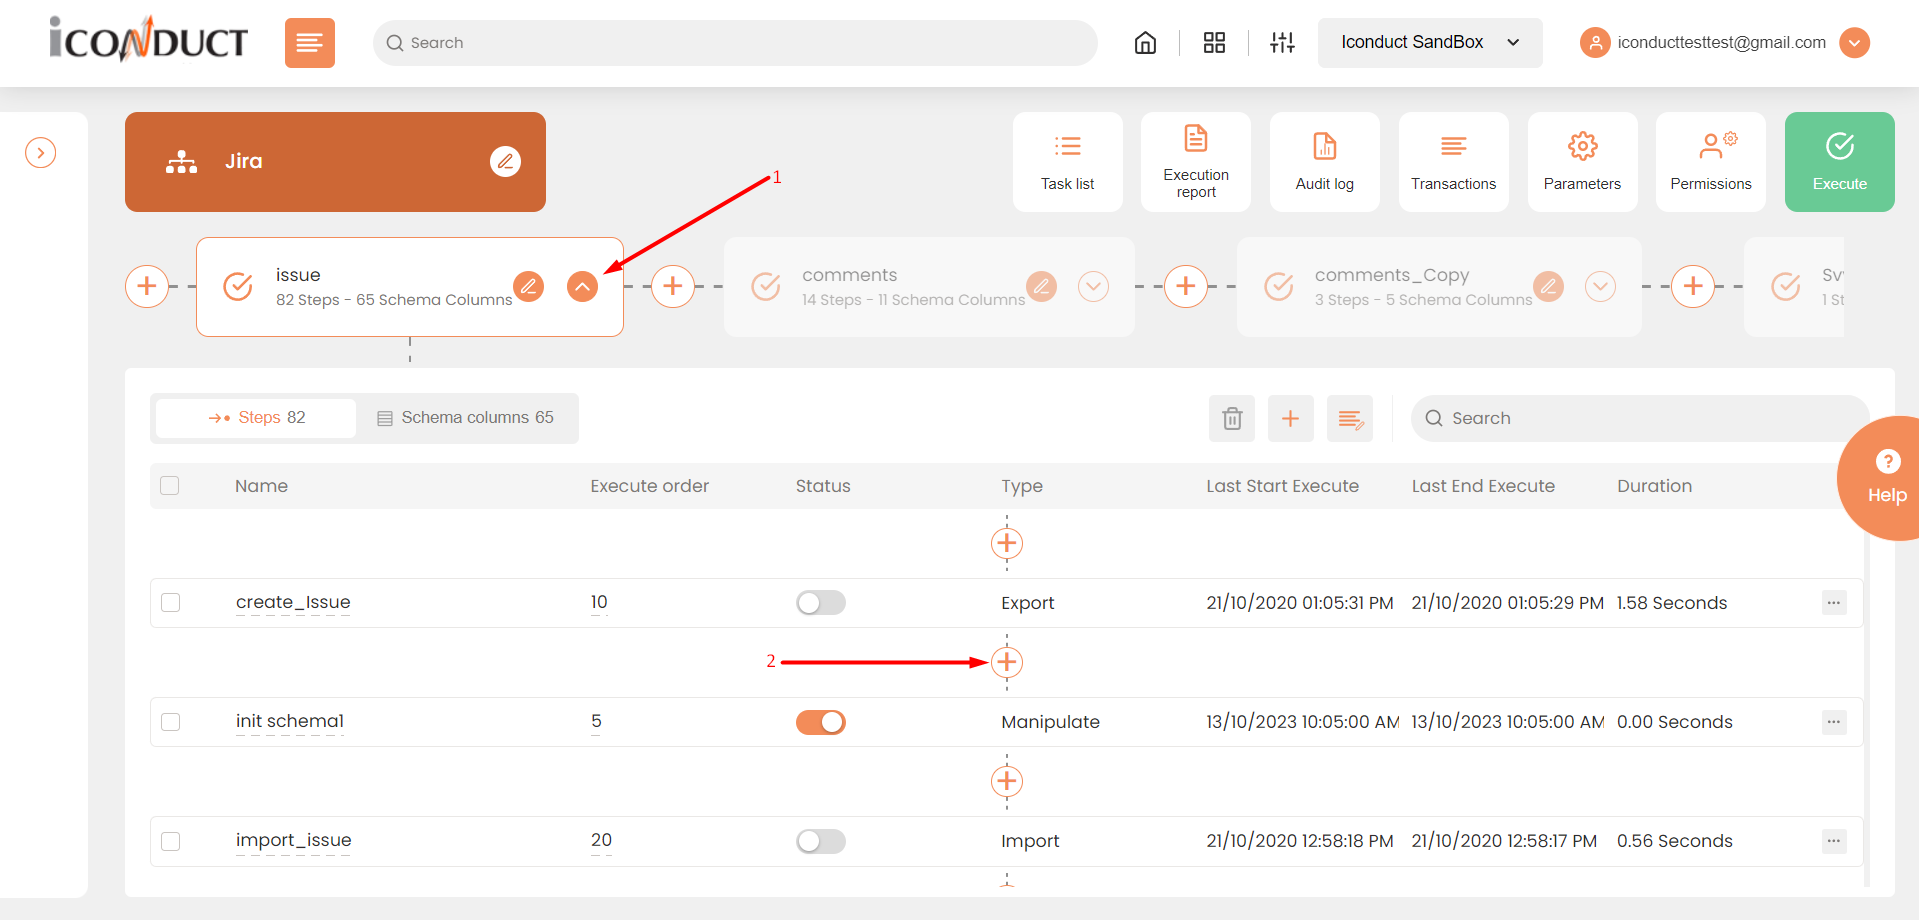
- In the specific Interface work area, press the downward button next to the task and press the ‘+’ (plus sign) button.
- Select Create manipulation step.
Creating a New Step
- Navigate to the Dates section and select Add Now Column.

Dates Section
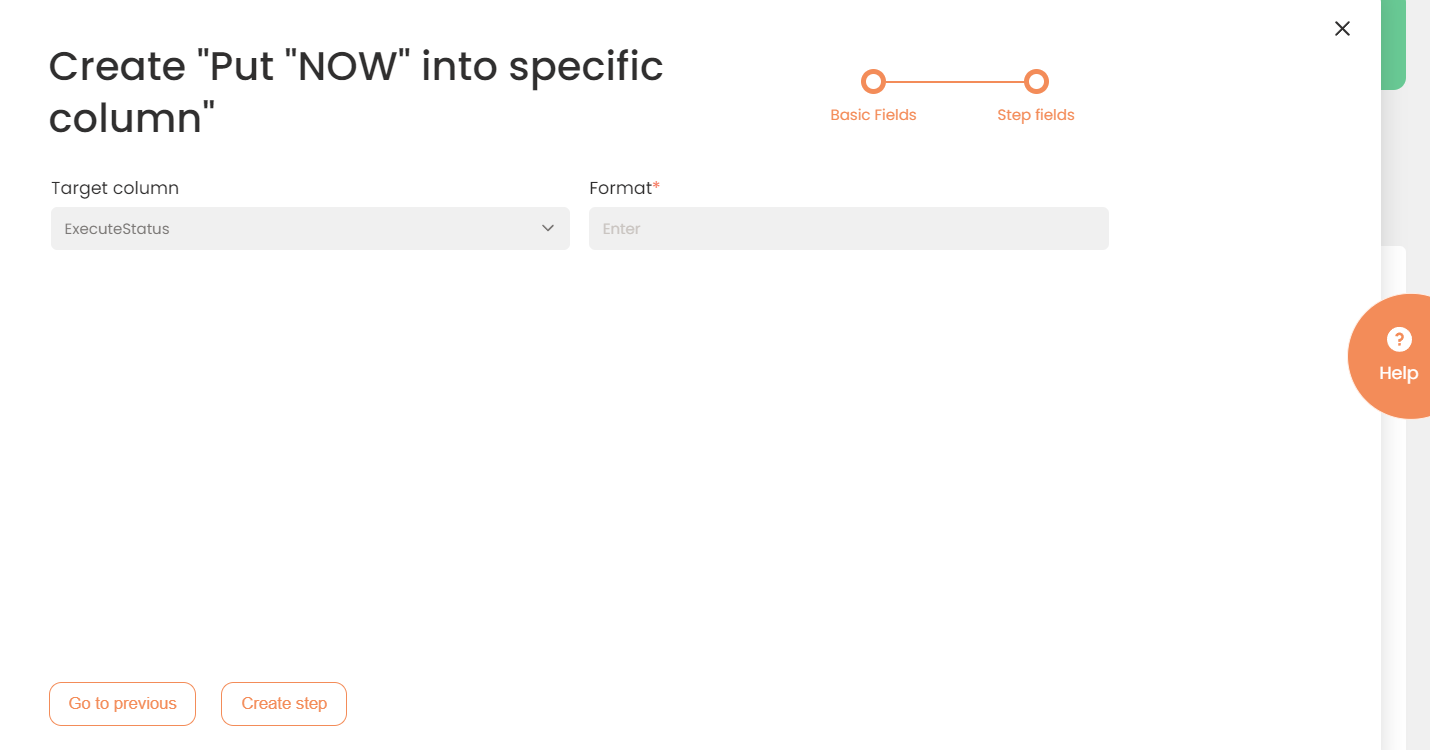
- In the Add Now Column work area, fill in the following fields:
| Fields | Description |
|---|---|
|
Name of step |
Provide a distinctive name for this step. |
|
Filter Expression |
Optional. Use this filed to filter data from the source database prior to inserting it into the Schema table. |
|
Sort Expression |
Optional. Use this field to sort data from the source database prior to inserting it into the Schema table. |
|
Audit notes |
Leave notes about the step if needed. This field may contain any information, such as the purpose of the step, further actions that must be taken etc. for you to work with the step in the future or to inform team members about your intent. |
|
Order of Execution |
Enter the order in which this step should be executed. |
|
Is Active |
Activate the switch to engage the scheduler for this step. |
|
Stop interface execution if query failed |
Optional. If enabled, the system will stop any data manipulation if the query returns an error. |
|
Save Schema (enabled per interface) |
If selected, the schema is created for this step. |
|
Target Column |
Select the column where you will insert the date. |
| Format | Specify the pattern the date/time value should match. For details on the pattern syntax, see Formatting Dates and Times. |
- Click the Create step button.